Ever since the release of Android 8 Oreo, the Android 9 picked up the fire as it continues the trending news Android Oreo left behind. Back then, the Android 9 have no name, many suggestions came across people's mind and thus, some of the guesses turns out to lime with what Google has in store for us.
Hence, the Android 9 Pie is still in a beta stage and thus, it won't stop Google from introducing another name to us as the Android 9 when Officially launched "who knows?".
The Android 9 Pie update is expected to be available only in few devices for now and it'll start on a device running on Android 8 Oreo, so if you wish to experience Android 9 Pie features then go get a flagship device that at least runs on Android 8 Oreo but if you can't afford that, no problem, here's how to make your Android device to look like Android 9 Pie.
However, the Android 9 Pie was just introduced to us by Google only few weeks back and if you're already rocking a
Android 9 Pie on your device and which to Root it then you've come in the right place because we have you covered. Hence I'm going to provide you with the step-by-step guide on how to unlock bootloader, install TWRP recovery and of course, Root your Android 9 Pie smartphone.
How To Unlock Bootloader, Install TWRP Recovery And Root Android 9 Pie Smartphones:
» Disclaimer:
AndroBliz should not be held responsible for any damages or loss you get following this procedure, hence we're here to offer help and guide to you "user at your own risk".» Important:
★ Ensure total backup of your Data before proceeding with the steps below.★ Ensure that you have at least 70-80 percent battery on your Android 9 Pie device.
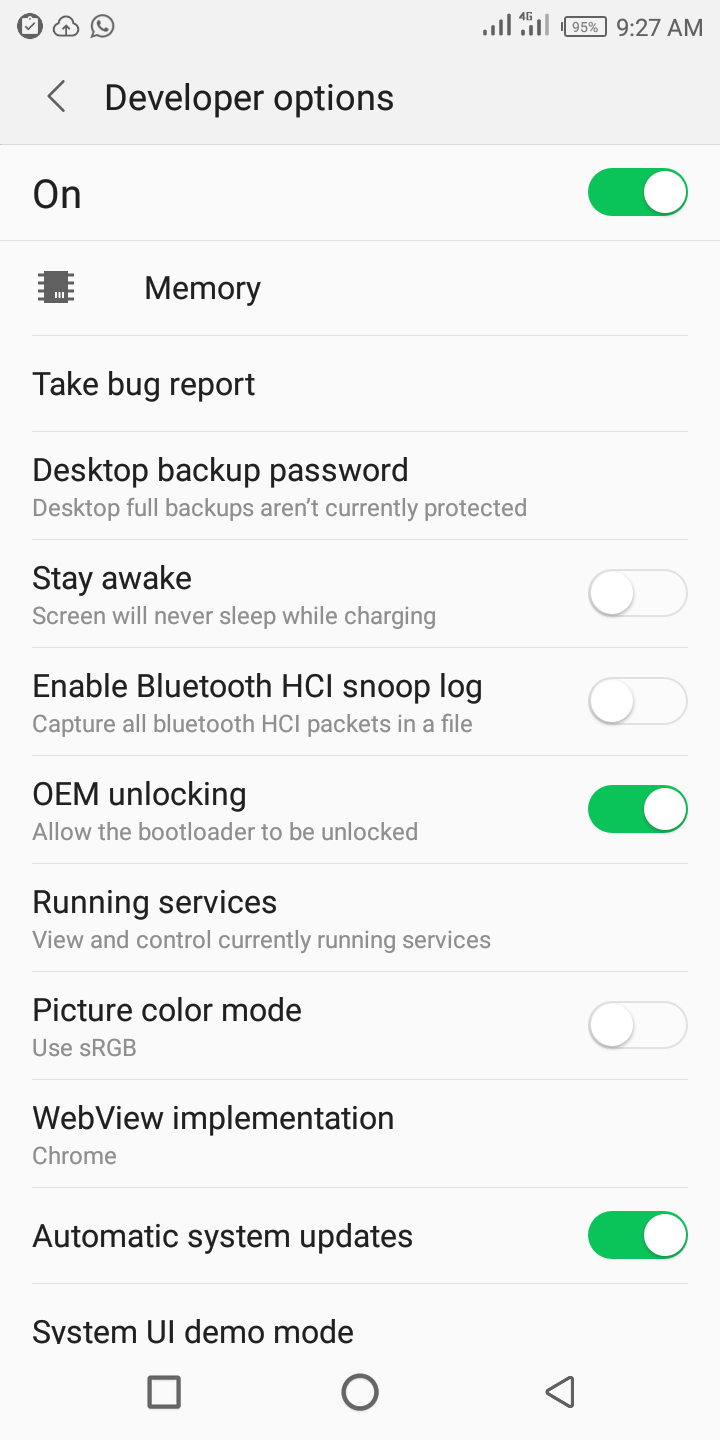
★ Make sure you have enabled your USB Debug hand OEM Unlock. To do this, Navigate to your Settings => About Phone => Click on Build Number Seven Times to become a developer => Head-back to your Settings and tap on Developers Option => Toggle on USB Debugging and OEM Unlock.

★ Make sure ADB and Fastboot are setup on your computer (Windows, Mac or Linux) and working. Hence, you can click here to learn how to install ADB and Fastboot on Windows, Mac and Linux
» Pre-Requisites:
Make sure your Android Smartphone is running Android 9 Pie, if you're using a Pixel device and haven't flash in the Android 9 Pie beta on your smartphone, then download and install it from here.» Downloads:
Download modified TWRP Recovery for your respective Google Pixel smartphone from below links, make sure to download the .img file. Once downloaded, rename it to recovery.img and place it in platform-tools folder.- Download TWRP for Google Pixel 2
- Download TWRP for Google Pixel 2 XL
- DownloadTWRP for Google Pixel
- DownloadTWRP for Google Pixel XL
Download below file and place the zip file in internal memory of your Google Pixel smartphone.
How To Unlock Bootloader And Install TWRP Recovery:
Unfortunately, we're unable to write it down here as we have already written about it earlier. So it'll be best for you to click here to learn how to unlock bootloader and install TWRP recovery on your Android 9 Pie device.How To Root Android 9 Pie:
★ Boot To Fastboot:
Turn of your pixel phone and boot to recovery by holding volume up + power button. However, you can also boot into fastboot while your device is on by following the below procedure.- Connect Google pixel device to computer using usb cable.
- Open command prompt (for Windows) or Terminal (for Mac and Linux).
- Navigate to platform-tools folder and issue below command.
Windows:
adb reboot bootloader
Mac and Linux:
./adb reboot bootloader
★ Boot TWRP Recovery:
On device running Android 9 Pie, Open command prompt (for Windows) or Terminal (for Mac and Linux). Navigate to platform-tools folder and issue below command.Windows
./fastboot flash recovery recovery-oreo.img
Mac and Linux
./fastboot flash recovery recovery-oreo.img
You should now boot into TWRP recovery on your Android 9 Pie device. Make sure to choose “Keep read only“.
★ Root Android P '9.0' Using Magisk
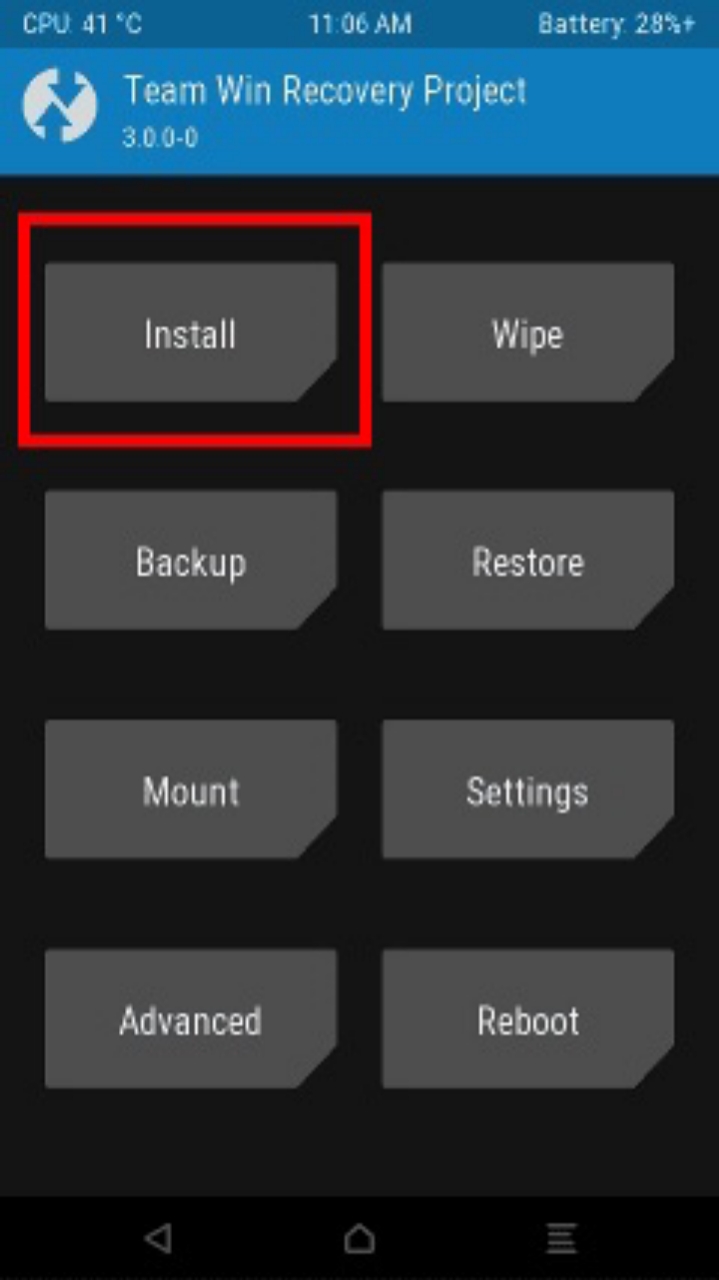
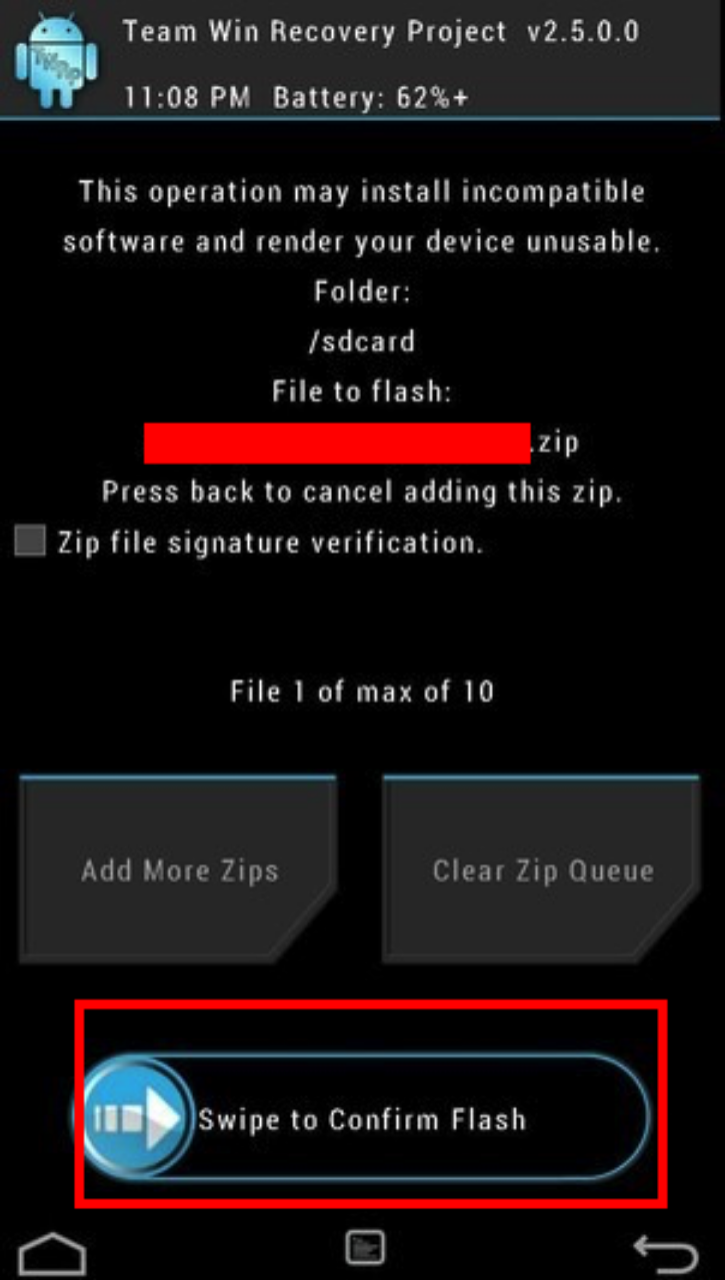
Once in TWRP click on Install, then select Magisk zip file downloaded in Downloads, and swipe to confirm flashing zip file.

★ Reboot Into Android:
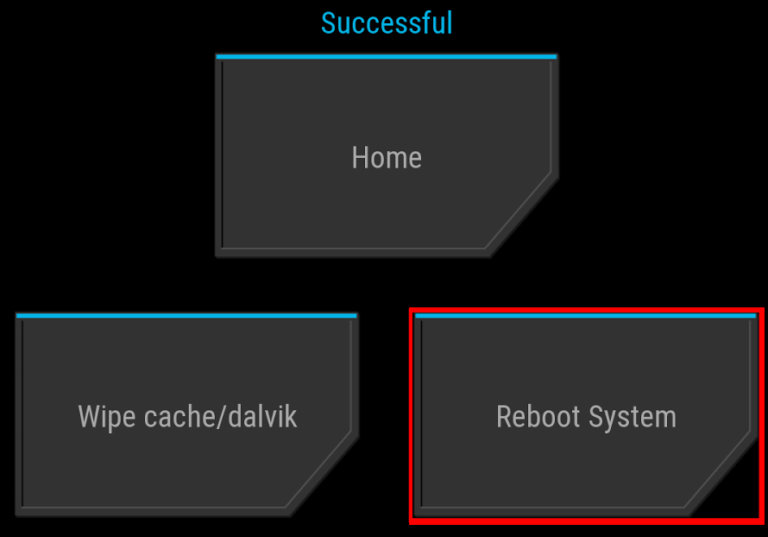
Head-back to TWRP main menu, then on Reboot and then on System and you will boot into Android.
Boom! all work is done, congratulations you have successfully rooted your Pixel phone. However, to confirm if your device is rooted successfully or not then you have to learn.
» Check Root:
If by any chance you want to check if your Android 9 Pie device is rooted or not, simply head-over to Google play store and download Root Checker app or you can click here itself, open it and click on Verify Root. If you are rooted you will get an appropriate message.


Wow. Thanks I have been looking for this.
ReplyDelete